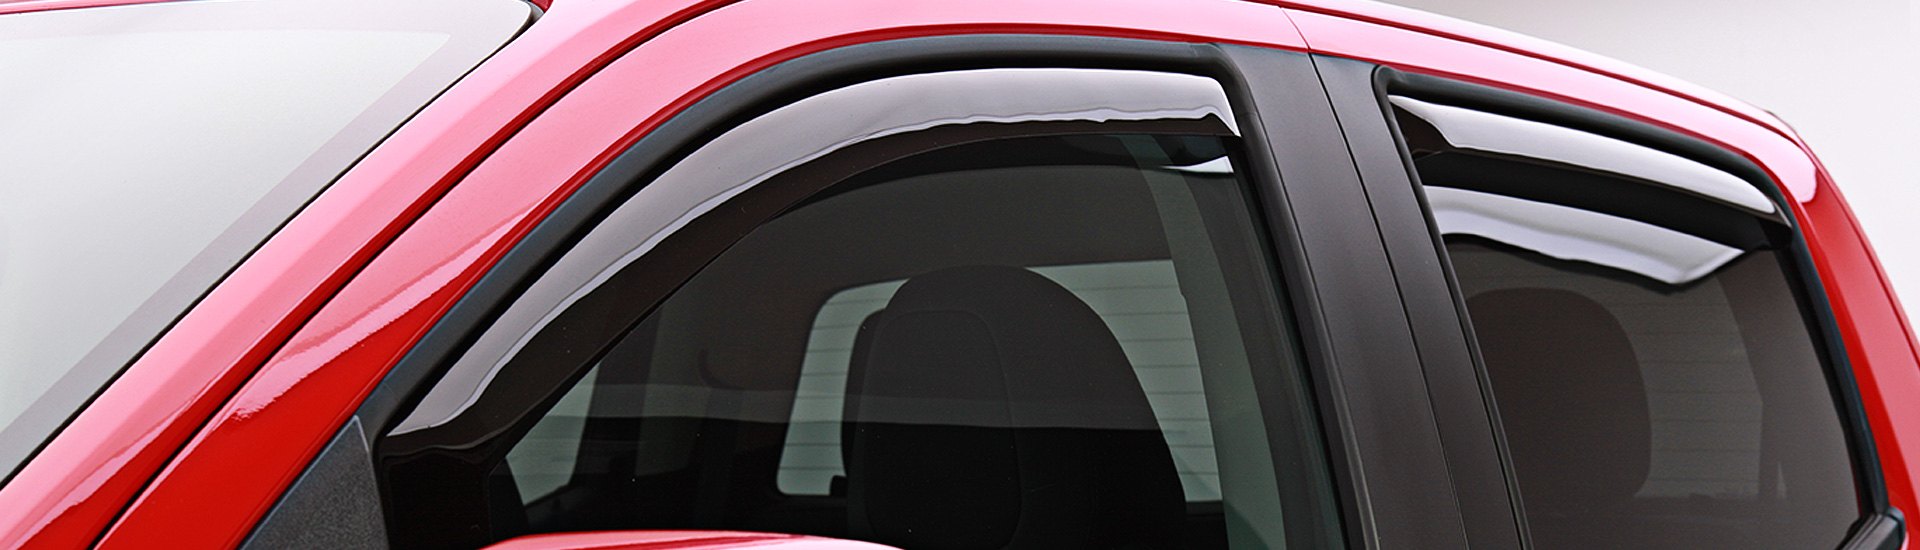
Rain Guards, also known as wind deflectors, window deflectors, or window visors, help keep rain spray and wind noise out while letting fresh air in. With these in place, you can leave the windows cracked in a parking lot without giving notice to potential thieves. Rain guards installation is an easy DIY job that you can tackle in your driveway in less than an hour. No stress, no tools.
Here, we'll cover the easy steps for installing both types of rain guards for car windows: In-Channel and Stick-On.
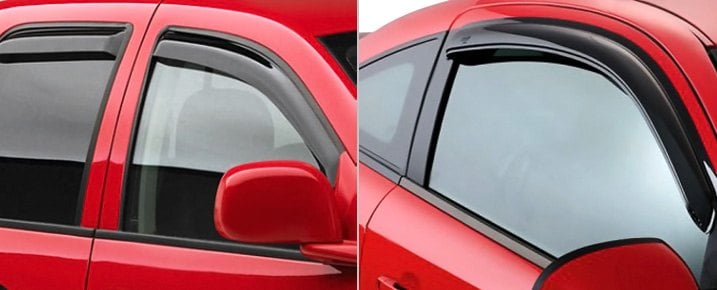
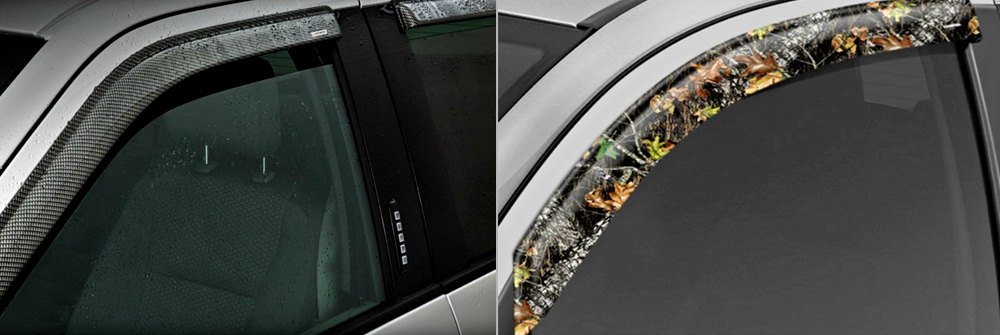
In-Channel Wind Deflectors
These window deflectors are made with a thin flange that slots into a car door's upper window channel. View our brief photo summary and read a detailed step-by-step installation guide below.

- Lay out all the pieces and be certain that you have the correct one for each door.
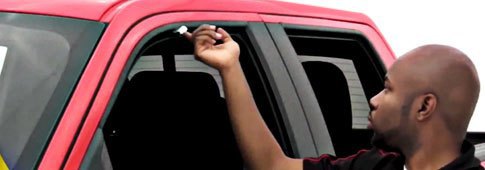
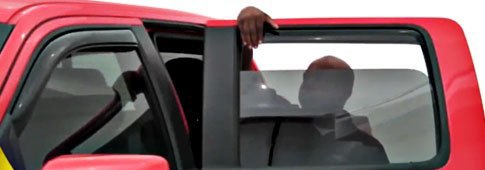
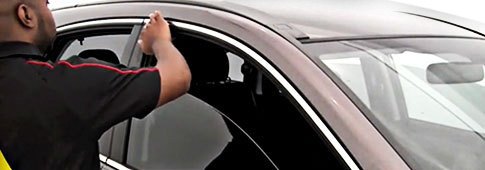
- Lower the window and tuck the flange all the way up into the window channel, beginning at the front. Some deflectors rely on tension to maintain a snug fit once installed, and these literally snap into place inside the channel. Take your time and work each visor as far into the channel as possible. Note: If you've got an in-channel rain guard that uses tape, be sure to test fit it into the window track first.
- Once you're satisfied the fit is good, remove the deflector from the window track, clean the area, and entirely remove the adhesive backing strips.
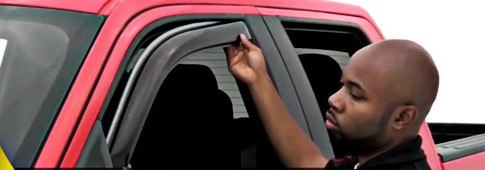
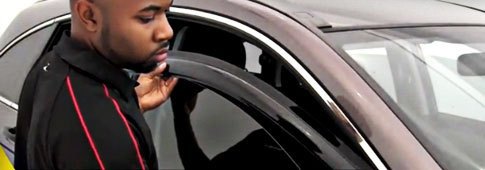
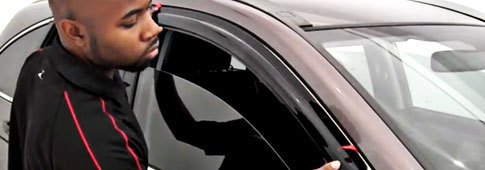
- Tuck the deflector flange back up into the track all the way.
- Raise the window up completely to keep pressure on the adhesive until it fully bonds in place. How long does it take for window visors to dry? If the manufacturer doesn't specify otherwise, 24 hours is an appropriate period of time.
NOTE! From our experience, a common reason why in-channel rain guards fall out of place is the failure to leave the windows up and the vehicle undisturbed for the recommended amount of time! It is best if the vehicle is allowed to sit. If you must drive, be certain that you and your passengers do NOT lower the windows!

When it comes to in-channel options, WeatherTech rain guards come highly recommended by our customers. Based on nearly 1,000 reviews, these In-Channel Side Window Deflectors fit perfectly and add a stylish look. For more choices, take a look at Putco In-Channel Element Window Visors (tinted or chrome), Stampede Snap-Inz Sidewind Deflectors (tinted), Lund In-Channel Ventvisor Elite Window Deflectors (tinted), and GTS In-Channel Ventgard Snap Window Deflectors (clear or tinted) just to name a few. By those links, you'll find wind deflectors for trucks as well, available for all popular models.
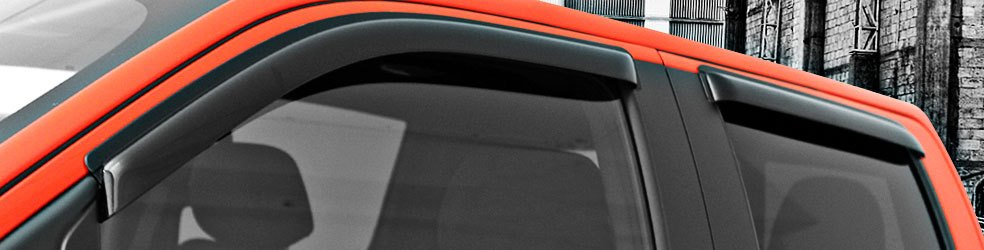
Stick-On Wind Deflectors
This style is attached just above the window channel – either on the door frame for side window deflectors, or the roof for rear window deflectors. If your side windows are frameless, then you'll be attaching the visors directly to the roof. Follow these easy steps to install rain guards for truck and car windows. View our brief photo summary and read a detailed step-by-step installation guide below.
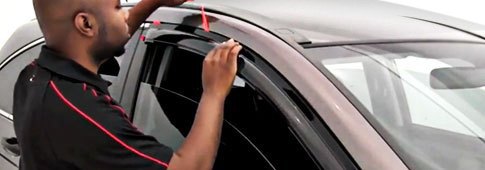
- Clean the area where the adhesive tape will be applied using mild soap and water. Buff any window trim moldings that will come in contact with the deflector using a light scuff pad. Use an alcohol pad to remove wax and other contaminants.
- Test fit. To make attachment easier, mark the points on the vehicle where the deflector's front and rear flanges will be placed with something that won't damage your vehicle's paint, like masking tape.
- Peel a small portion of the backing strip away from the tape at both ends of the window visor.
- Place the deflector in the position where it will be mounted. Gently press on the ends so the peeled adhesive keep the deflector in place. Make sure the ends of the backing strips stick out visibly, because you'll need to grab on to them in order to pull the tape all the way off.
- Remove all remaining backing tape by pulling on the end strips that were left sticking out during the previous step. As you peel the rest of the backing strip away, apply pressure on that spot as you go.
- Rub your hand back and forth over the deflector to continue applying pressure to all areas a little longer.
- Once bonding is complete, test for proper adherence by attempting to wiggle the visor. It should not flex.
- Follow the manufacturer's guidelines about not washing the vehicle for a period of time after installation.
If this style is your preference, Auto Vent Shade (AVS) Tape-On Ventvisor Window Deflectors, available in smoke and chrome finishes, are a great choice that's worth considering. Feel free to browse more alternatives, including Putco Tape-On Element Window Visors (tinted or chrome finish), EGR Tape-On Window Visors (dark smoke), Rugged Ridge Tape-On Window Deflectors (tinted, simulated carbon fiber, matte black), and GTS Tape-On Ventguard Sport Window Deflectors (tinted or simulated carbon fiber) among many others.
Always follow the specific instructions from the manufacturer whose product you are installing. And if the instructions are scarce or missing, we trust that this guide on how to fit wind deflectors gives you the confidence to move ahead. We also invite you to read our related article "Rain Guards: In-Channel vs. Stick-On" for more details on the different types, specific products offered, and advantages of each style.